Revit. Views. Let's Go! The following Simple Elevations are just a few rough images to illustrate some of the things we can do with Views in Revit...Just think how amazing they can look with an actual project!!!
I have heard asked (and have been asked myself) ..."how can I see through my windows in an elevation view?" It may seem simple for those who know but if we don't know that we don't know, that is where our pain can begin. Well Pain (with this) No More.
When in a 3D view goto: view / orient / to other view then just choose the appropriate elevation (or section, etc.) view you wish to reorient to and there you'll have it; an "elevation" with transparent materials (that you can actually see through) what a concept, huh. Plus you get a whole new world of possibilities and new creative and illustrative options to explore...just remember to go back to: view / orient / save view to both save this new 'elevation' view and get a new default 3D view through the process of that save.
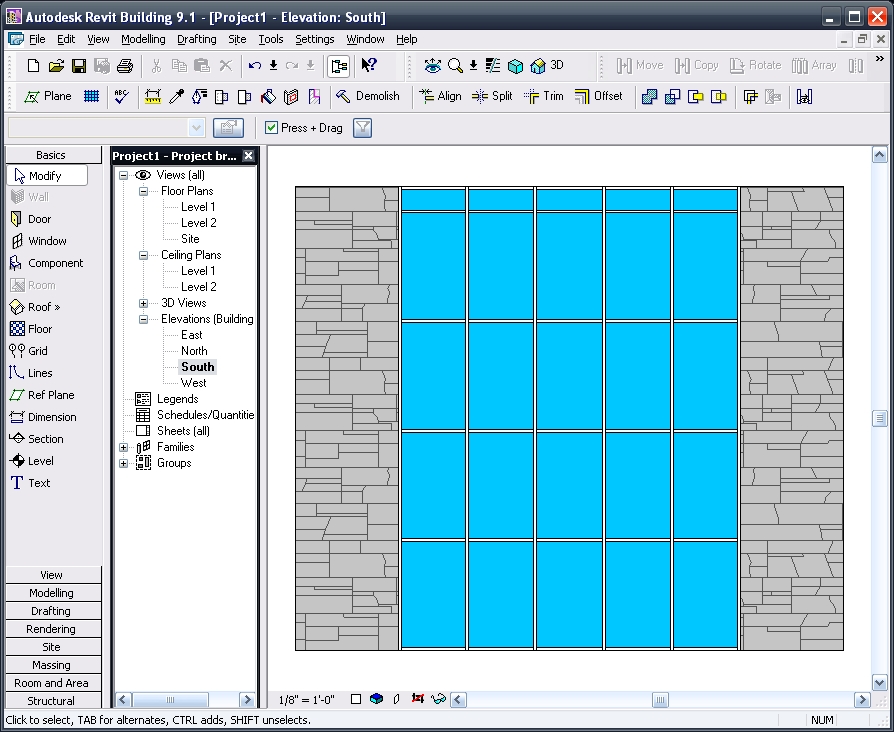
First: A Standard Elevation View:
Second: A 'Re-Oriented' 3D View with Shading W/ Edge graphics:

Third: That Re-Oriented View now rendered out to an image:

Finally: The new image inserted onto a sheet and composited (overlaid) with another Wire Frame view (actually a duplicate of the initial view used to render): Yes we can do that!!!
 Have a great time and let me hear from you if you have any comments or questions!!!
-J
No comments:
Post a Comment