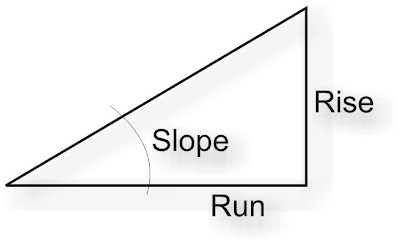
 I've been asked several times in the past few months to create (or show others how to create) Parametric Slanted Volumes. It seems that each time the people wanted to input & Constrain using different values: Well, here are 3 variations of such volumes, including the formulas necessary for their manipulation...(Also included in #'s 2 & 3 are a numerical Parameter that gives the Percentage of the Slope).
1: Control Parameters: Rise & Slope; Run is derived from them.
2: Control Parameters: Rise & Run; Slope is derived from them.
3: Control Parameters: Slope & Run; Rise is derived from them.
Nice!!!
First off use my Revitism: Think Twice and Place Once here...Do these parameters want to be Instance or Type? It's extremely important to choose wisely as changes to the parameters later on may create headaches...(if you use shared parameters, needing to change them later most assuredly will create nightmares (for real))
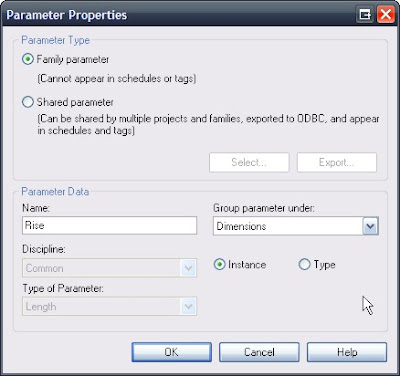
For these families I used Family Parameters (similar to the image below), all set to Instance and grouped under Dimension...
First, as with all Family Creation I made Reference Planes, Parameterized them, Flexed them at every new parameter and when they were all verified (and only then) did I create the solid geometry; locked to the Ref Planes.
So here are the parameters that are the basis for all three families: Rise, Run, Slope & Width.
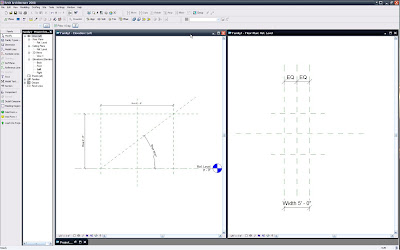
Now that I've flexed and see that they work correctly I'll create a solid extrusion. I find it best to lock the extrusion Sketch Lines to the Ref Planes in this sketch mode; just be sure not to 'mix-and-match' lock locations if you lock the sketch lines lock all of them in this mode, don't lock some sketch lines here and other parts of the solid when back in the family editor, in relation to the profile in this case, as you'll probably break the family...
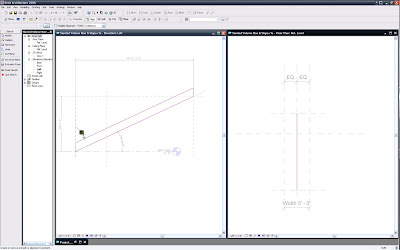
Be sure to use the Align tool and lock the solid to both Ref Planes, that are expressing the Width of the family... (This is OK here and does not constitute a mixing-and-matching of constraints)
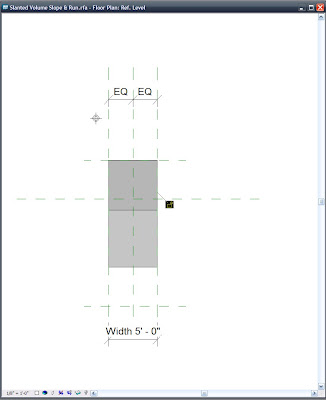 OK!!! So now the foundation is set and we're off to the races.
By using the Family Types tool set the parameters as such:
1) When Rise & Slope are the controlling Parameters, meant to drive the object use the formula: Run=Rise/tan(Slope)...remember to be case sensitive!!!
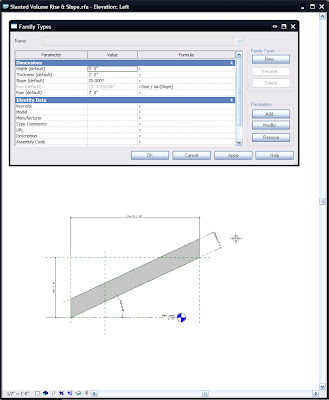
Here's a flex to test Rise & Slope...
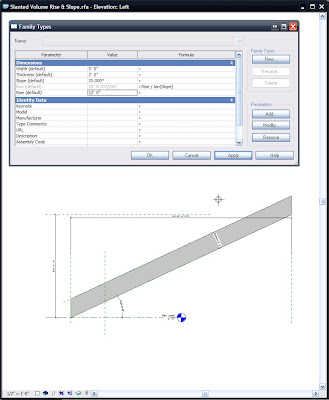 FILE>SAVEAS>whatever name you like.rfa
Do another immediate SaveAs and rename appropriately for the Rise & Run variation...
Then:
2) When Rise & Run are the controlling Parameters, meant to drive the object use the formula: Slope=atan(Rise/Run).
Here is where I added the Parameter Slope Percentage, as a Number, Instance, Family Parameter...That formula is: Slope Percentage=100*tan(Slope)
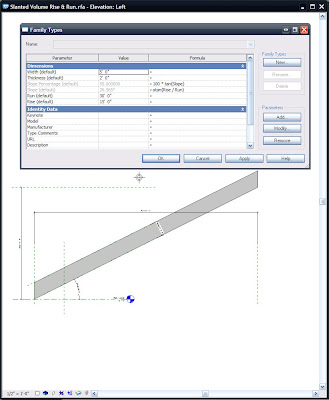
A flexing of Rise & Run, to ensure wholesome goodness. -Buttering the bread, as it were...
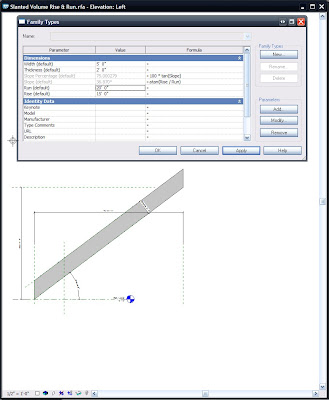
FILE>SAVEAS>whatever other name you like.rfa
3) When Slope & Run are the controlling Parameters, meant to drive the object use the formula: Rise=Run*sin(Slope).
The Parameter Slope Percentage remains as is: Slope Percentage=100*tan(Slope)
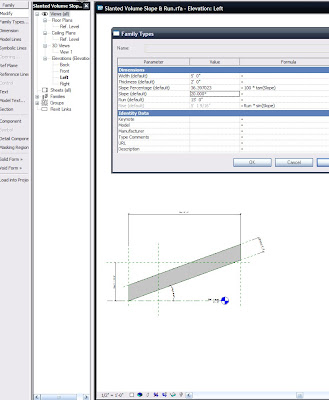
Here's a flex to test Slope & Run... Got sandwich meat? hee hee he said meat...(Props to Beavis...or was that butthead?)
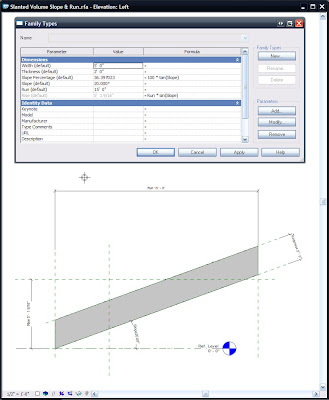 If you'd like to know what all the expressions are that Revit finds acceptable for use in Formulas go to that button...oh what was that called....umm....ohh....oh yeah: HELP...there is a great list there...
So all is good now in the Basic slanted object world (when the Ramp tool doesn't want to be used)...Now to throw a wrench into your worlds: Why not create a Railing (and all necessary Profiles) and use that for your Conveyor System???
Que Evil Laugh!!!
Mmmmmwwwwwwaaaaaahhhhhhaaaaaahhhhhhaaaaaa........
No comments:
Post a Comment