Here's a great way to get functionality beyond the either/or option given when we Link CAD files in Revit. By default there are 2 options to link a file; either into the "Current View Only" or by un-checking "Current View Only" thus showing the CAD file in EVERY view...Sections, Elevations, etc. (Yuck). There's no trick to get the flexibility we want, we just need to do some creative thinking...in a nutshell: Link the file as visible in every view then place that linked CAD file in a workset that is by default off in every view...Hmmm I like it!!!
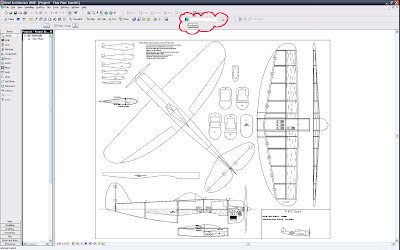
1) Link the CAD file so it will be on in every view (by clearing the check box as below):

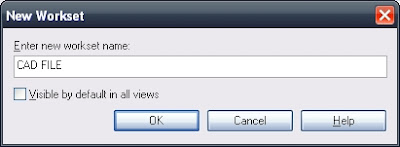
- Next create a workset (even if you are the only person to work on the project). See the next 2 images...

- Be sure to un-check the "Visible By Default in Every View" box.

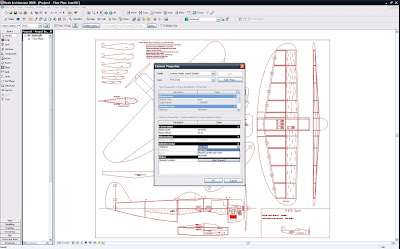
- Next select the instance of the CAD file and go to it's Element Properties and place it in the workset designed for it.
 Yes, the CAD file will disappear initially...do you know why?...Remember? It's workset is off (by default in every view)...No fear
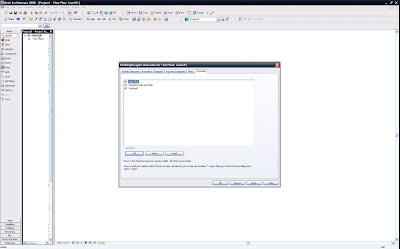
- Go to Visibility Graphic Overrides (V V or V G) and click into the worksets tab and turn the workset on. This will be true for any view that has a view range that will see the level that you placed the cad link on...Yes that was also a choice when linking, but never fear (still); if you placed the link on the incorrect Level just change that from it's Properties as well...

- Now we have the power to view the CAD file in (as I said) any view that can see it's level and that has that workset turned on...and assuming there is no view specific element hiding of the CAD file...

V O I L A
BTW: If you do an internet search for free CAD plans you may find this great library of airplane (model?) files like the one I used...It's more fun to have fun, rather than blog this using an actual Site or Survey file...also I don't need the litigation...
L8R
-J